The pamphlet stitch is the entry point to bookbinding: a single folded gathering of pages — a signature — sewn through three holes with one length of thread. There is no glue, no press, and no special equipment beyond a needle and an awl. The Canadian Bookbinders and Book Artists Guild lists it among the foundational structures taught in introductory workshops.
Why start with the pamphlet stitch
It teaches the three ideas every later binding depends on: a square spine fold, evenly spaced sewing stations, and consistent thread tension. Get those right on a thin booklet and a thicker multi-signature book is mostly repetition.
Materials
Paper & cover
Four to eight sheets of text paper folded in half, plus one heavier sheet of cover stock folded around them. Match the grain to run parallel with the spine so the book opens flat.
Thread & tools
Unwaxed linen thread (or waxed cotton), a blunt bookbinding needle, an awl for piercing, and a bone folder for sharp spine folds.
Folding a signature
- Nest the pages. Stack your text sheets, then wrap the cover stock around the outside.
- Fold together. Fold the whole stack in half at once so every page shares one spine. Set the fold with a bone folder.
- Check the square. Tap the head (top) edge against the table so the pages align before you mark holes.
Marking the sewing stations
Open the signature flat. Along the inside of the spine fold, mark three stations: one at the centre, and one near each end about two to three centimetres from the head and tail. Pierce each mark with the awl from the inside out, resting the spine on a folded scrap so you do not pierce the table.
The three-hole stitch
One thread, about three times the spine height, threaded on the needle. The path below starts inside the centre hole so the final knot ties over the long inside stitch.
Stations along the spine (inside view):
HEAD TAIL
o-------------o-------------o
(A) (B) (C)
center
Path:
1. Start INSIDE at B, exit to spine.
2. Spine to A, enter to inside.
3. Inside long-stitch A -> C (skip B), exit at C.
4. Spine C -> B, enter to inside at B.
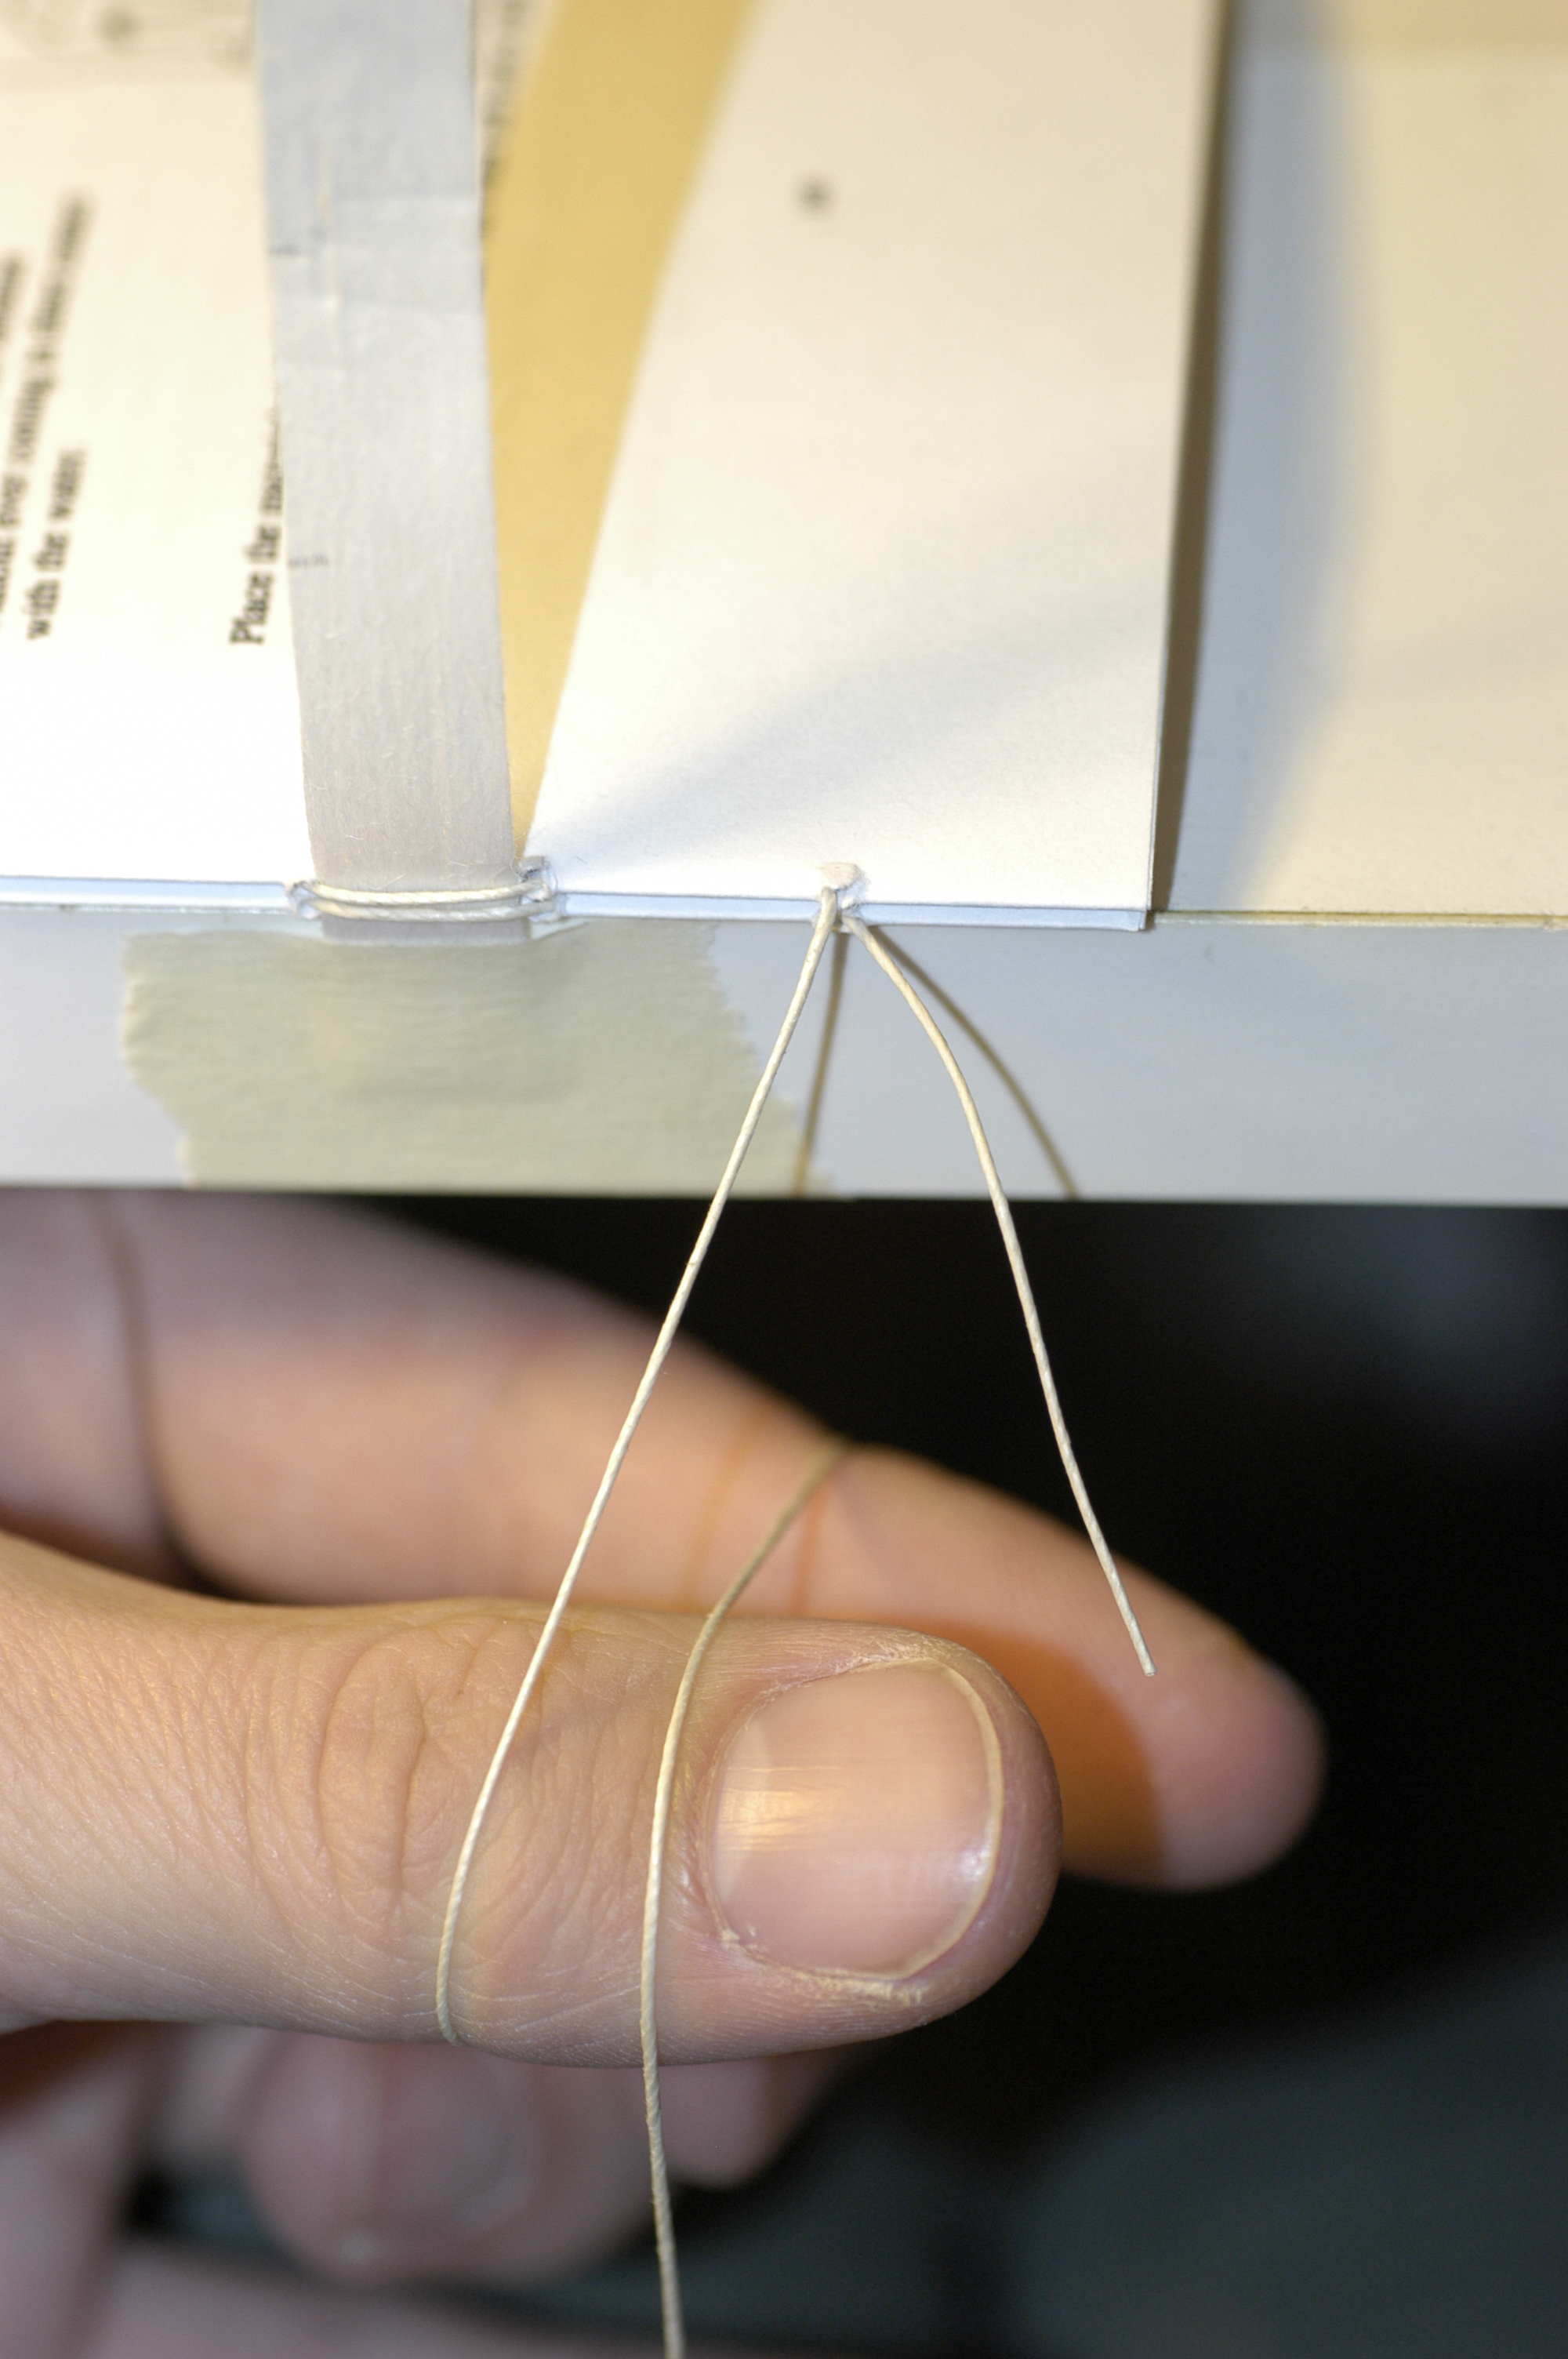
5. Tie off at B, around the long A-C thread.
Keep tension firm but not cutting into the fold. Trim the tails to a centimetre. The booklet should open flat and lie closed without springing apart.
References
- Canadian Bookbinders and Book Artists Guild — cbbag.ca
- Canadian Conservation Institute — Caring for books and paper